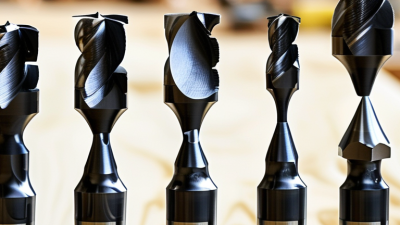
How to Choose the Best CNC Router Bits?
Choosing the best Cnc Router Bits is less about finding the most expensive option. It is about matching the bit to the material, machine, and finish you need. A sharp two-flute compression bit may produce clean plywood edges, while a straight bit can leave visible splinters. Wood, acrylic, aluminum, and composites each respond differently under cutting pressure.
John Saunders, founder of Saunders Machine Works, has shared a practical reminder: “The tool is only as good as the setup behind it.” That principle matters on a real router table. A dull bit, loose collet, incorrect feed rate, or dusty spoilboard can ruin an otherwise suitable tool. Even a premium bit cannot correct excessive runout or an unstable workpiece.
Small details matter.
This guide examines Cnc Router Bits by flute design, cutting geometry, shank size, coating, and intended material. It also considers chip evacuation, cutting depth, spindle speed, and expected surface quality. For example, a 1/4-inch bit cutting hardwood too slowly may burn the edge instead of producing a clean chip. A sharp bit is not automatically the right bit. I have also learned that recommendations can change after testing; manufacturer charts are useful, but actual results depend on machine rigidity and workholding. Treat them as starting points, not absolute rules. Careful testing on scrap material remains the most reliable way to choose confidently.
Understanding CNC Router Bit Types and Their Cutting Functions
How to Choose the Best CNC Router Bits?
Understanding CNC Router Bit Types and Their Cutting Functions
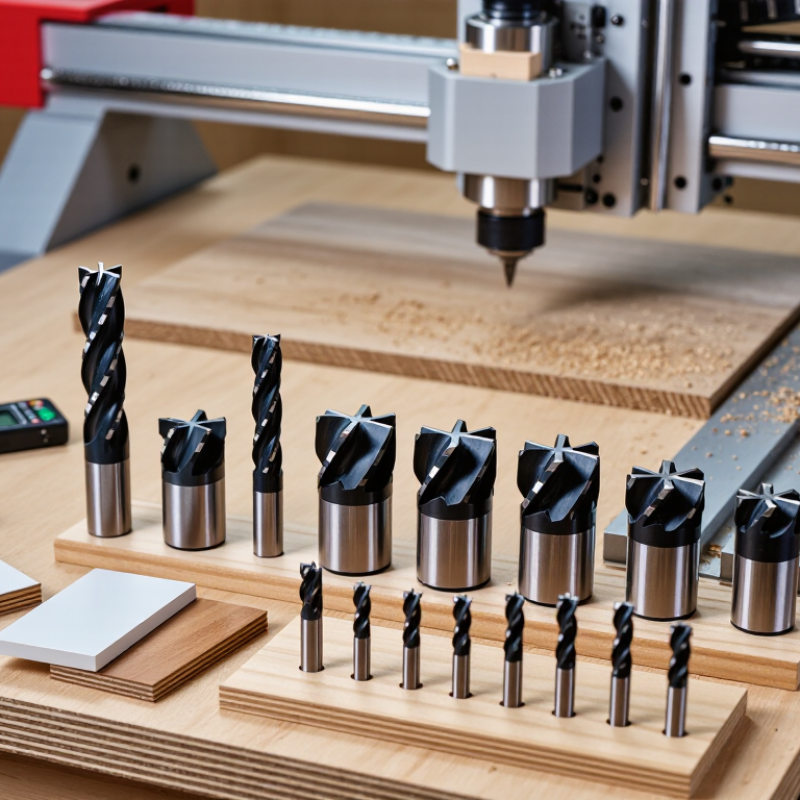
Choosing a CNC router bit starts with the material, not the machine. Straight bits remove material efficiently and suit grooves, dados, and rough cutting. Upcut spiral bits lift chips from deep slots, but they may splinter the top surface. Downcut bits press fibers downward and leave cleaner edges on laminated sheets. Compression bits combine both actions, making them useful for plywood and veneered panels. V-bits create lettering, engraving, and sharp chamfers. Ball-nose bits produce smoother contours on three-dimensional workpieces.
The cutting function changes with geometry. A two-flute bit usually clears chips well in wood and plastic. More flutes can improve finish, but they demand careful feed control. The U.S. Department of Energy reports that industrial motor systems can represent more than 20% of facility electricity use, so efficient cutting deserves attention. A 2024 CNC machine market report from Fortune Business Insights estimates the sector above 80 billion dollars, reflecting the growing need for repeatable machining. These figures do not choose a bit for you. Real dust, heat, and edge quality still decide.
Tips: Match flute count to chip removal. Check the manufacturer’s speed chart, then reduce feed slightly for fragile material. Inspect the first cut. A clean edge is not always proof of correct settings; excessive heat can hide inside the cut. I sometimes trust the chart too much, and that is a mistake worth questioning. Replace a dull bit before it forces the machine to work harder.
Matching Bit Geometry to Your Material and Machining Task
How to Choose the Best CNC Router Bits?
Matching Bit Geometry to Your Material and Machining Task
Choosing a CNC router bit starts with the material, not the machine. The right geometry controls chip removal, edge quality, heat, and tool life. A two-flute upcut bit clears chips quickly from solid wood and produces a clean slot. However, it may lift thin sheets unless the workholding is firm. A downcut bit presses fibers downward, leaving a smoother top surface. It can create excessive heat in deep pockets.
For plywood and laminated panels, a compression bit can protect both visible surfaces. Its cutting edges combine upcut and downcut sections. Set the cutting depth carefully, or the benefit disappears. Soft plastics usually need a sharp, polished, single-flute bit. This creates room for chips and reduces melting. Aluminum requires more caution, suitable lubrication, and conservative cutting parameters. Small details matter.
I check the flute length against the material thickness before every setup. Too much exposed carbide can vibrate, even when the bit looks strong. I also run a small test cut, measuring edge fuzz, melting, and surface marks. The first setting is rarely perfect. Sometimes slower feed rates make things worse by increasing heat. Calculated chip load, proper workholding, and sharp tooling provide a safer starting point than guesswork. Recheck the result after several passes, because dust buildup and tool wear can quietly change the cut.
Setting Speeds, Feeds, and Maintenance Practices for Better Results
Choosing the best CNC router bit begins with the material, cut type, and machine capacity. A two-flute bit often clears chips well in wood. A single-flute bit can reduce heat in some plastics. The correct geometry matters more than appearance. Check the cutting diameter, flute length, shank size, and required cutting depth before installation.
Speed and feed settings control heat, finish, and tool life. Calculate feed rate with this basic formula: RPM × number of flutes × chip load. Start near the tool maker’s recommended range, then adjust carefully. If you smell burning wood, reduce spindle speed or increase feed slightly. If the edge looks rough, the feed may be too high. Listen closely. A sharp, steady cutting sound is useful evidence. My early settings were often too cautious, which caused rubbing and heat.
Maintenance should happen before the next job, not after failure. Remove resin and dust with a soft brush, then inspect the cutting edges under bright light. Small chips can ruin an otherwise clean surface. Keep bits dry and store them separately, since loose tools can strike each other. Check collet cleanliness and tightening pressure as well. I still occasionally overlook dust inside the collet, and that mistake can create visible runout. Record RPM, feed rate, material, and results after each project. Those notes become more reliable than guesswork.
Starting values for a 6 mm, two-flute carbide router bit running at 18,000 RPM. Feed rate is calculated using:
Feed Rate = RPM × Number of Flutes × Chip Load.
Use these figures as a starting point, then adjust gradually according to cutting sound, surface finish, heat, and machine rigidity. Clean resin and dust from the bit after use, inspect cutting edges regularly, and replace the bit when edges become dull or the cut produces excessive heat.